Etching Techniques for Weld Macro Examination
Etching techniques for weld macro examination serve a specific, code-driven purpose that is different from microstructural etching: the goal is a clear, well-documented photograph showing weld pass sequence, fusion, and any discontinuities for a procedure qualification record — not a study of grain structure. Getting a clean, evenly etched macro section on the first attempt, choosing the right reagent for the base metal in front of you, handling that reagent safely, and knowing exactly what a reviewer expects to see in the resulting photograph are the practical skills this article focuses on.
This guide assumes familiarity with the general macro/micro examination process and with metallographic preparation fundamentals, and goes specifically into macro etchant selection by material, swab versus immersion technique, safety handling for the reagents involved, and how macro etch records are read and documented for WPS/PQR qualification. See the macro vs micro tests in welding guide for the foundational process and code framework, and the metallography sample preparation guide for grinding/polishing technique and artifact troubleshooting that applies to both macro and micro work.
What a Macro Etch Needs to Show
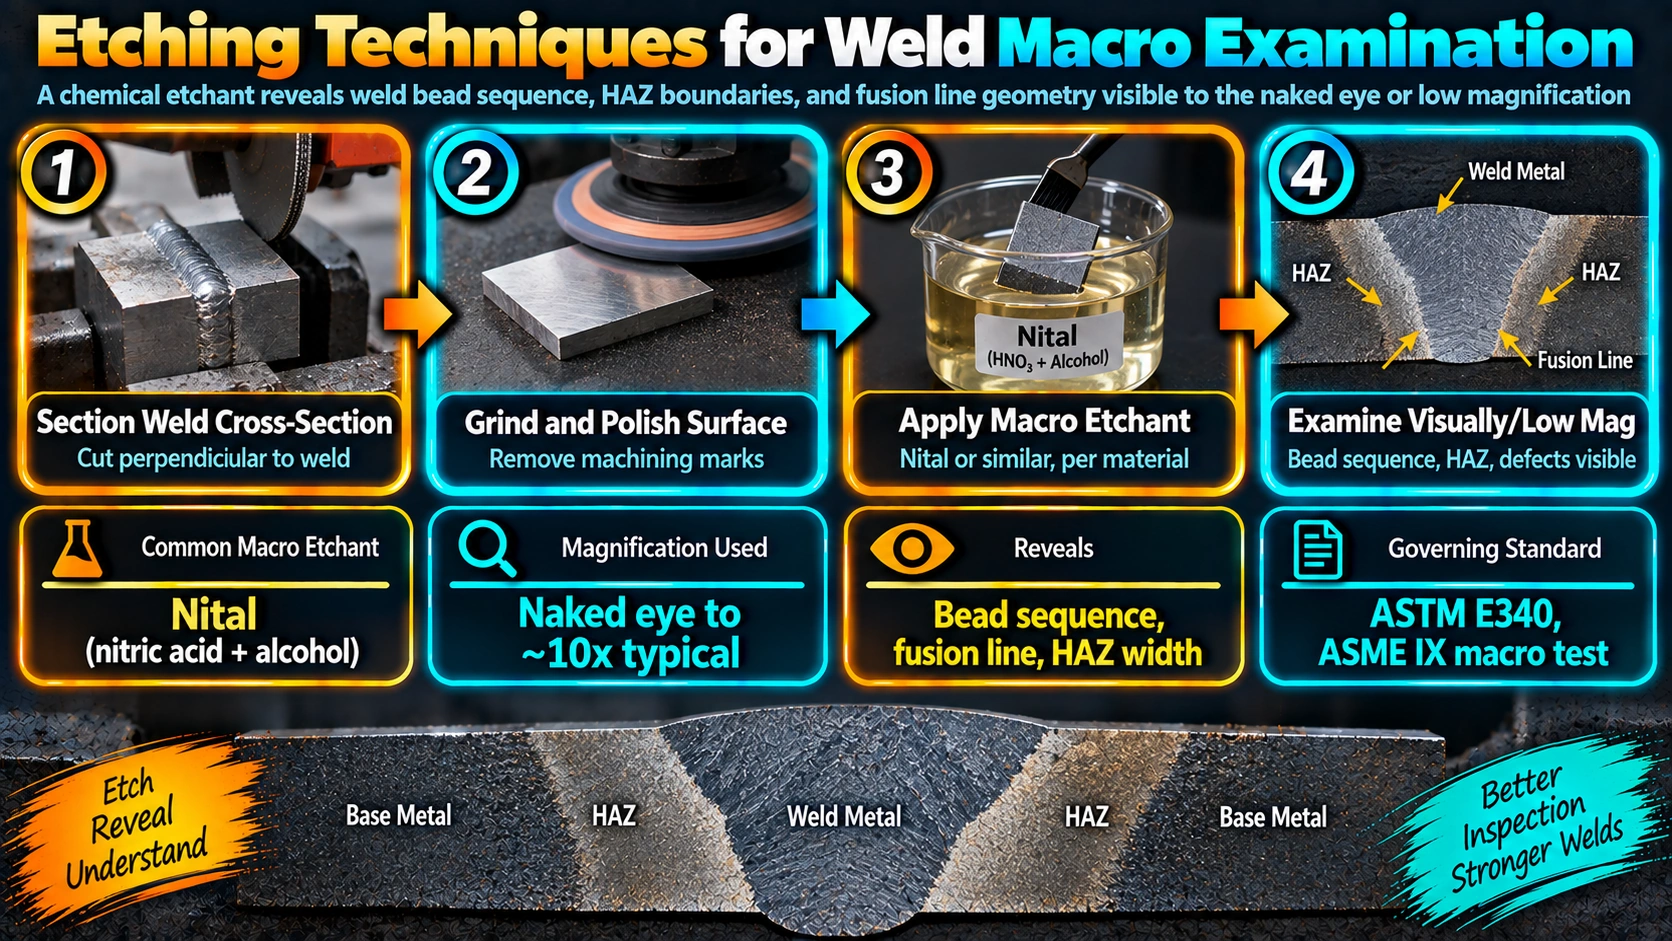
A weld macro etch is a qualitative visual record, not a microstructural one. For procedure qualification purposes, it needs to clearly reveal the number and arrangement of weld passes, the fusion boundary between weld metal and base metal on both sides of the joint, the extent of the heat affected zone, and any discontinuities — lack of fusion, incomplete penetration, cracks, or significant porosity — that would affect the joint’s compliance with the essential and nonessential variables recorded on the WPS. Because the goal is contrast at low magnification rather than fine microstructural detail, macro etch preparation and etchant choice differ meaningfully from micro work even when the same base metal is involved.
Surface Preparation for Macro Etching
Macro etching does not require the extended fine polishing that microstructural etching demands — a consistent finish through approximately 600-grit abrasive is generally sufficient to produce clear contrast at macro scale, well short of the diamond polishing sequence needed for micro examination. See the metallography sample preparation guide for the full grinding progression and common preparation artifacts that apply at either scale.
Macro Etchant Selection by Material
| Material | Common Macro Etchant | Typical Application |
|---|---|---|
| Carbon / low-alloy steel | 10% Ammonium persulfate, Nital (3-10%), or dilute nitric acid | Swab, rinse, repeat until contrast is sufficient |
| Austenitic stainless steel | Adler’s reagent, mixed acid (HCl + HNO3 + water), Kalling’s | Swab under ventilation; monitor closely for over-etch |
| Aluminum and aluminum alloys | Keller’s reagent, dilute NaOH, Tucker’s reagent | Ferrous etchants do not work on aluminum oxide surfaces |
| Nickel-base alloys | Aqua regia (fresh mix only), Glyceregia | Prepare immediately before use; never store |
| Dissimilar metal joints | Sequential etch matched to each side (see metallography prep guide) | Single macro etchant rarely reveals both sides equally well |
Swab vs Immersion Technique
Swab etching — applying reagent with a cotton swab in a consistent direction, rinsing to check progress, and repeating as needed — gives the operator direct, incremental control over etch depth and coverage, which is exactly what a one-off production macro section needs since over-etching can obscure a fine lack-of-fusion line just as effectively as under-etching fails to reveal it in the first place. Immersion etching, where the full specimen is submerged for a set time, is harder to control incrementally mid-process and is more commonly reserved for smaller lab coupons prepared under closely controlled, repeatable conditions.
Safety Handling for Macro Etchants
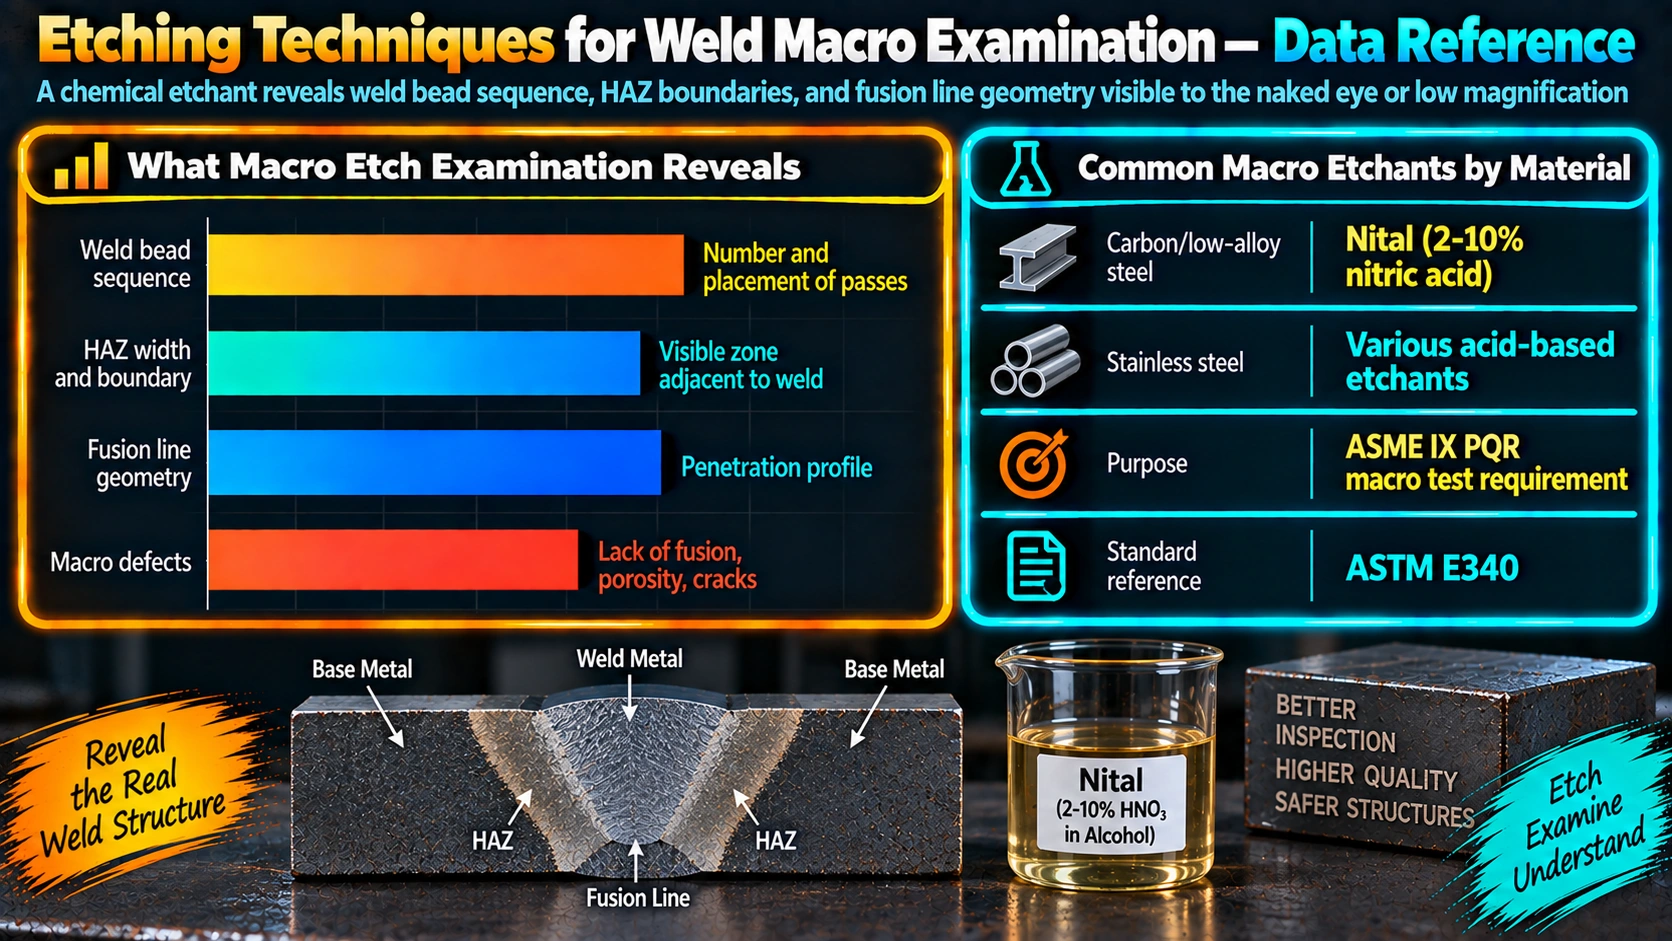
- Ventilation — use a fume hood or well-ventilated area for all acid-based reagents, particularly Adler’s reagent, aqua regia, and mixed acid solutions that release irritant or toxic fumes.
- Personal protective equipment — acid-resistant gloves, eye/face protection, and an apron at minimum; some reagents warrant a full face shield depending on facility procedure.
- Fresh preparation of reactive mixtures — aqua regia and similar reagents must be mixed immediately before use and never stored sealed.
- Never combine waste acids — dispose of spent etchants per facility chemical waste procedure rather than pouring different acid wastes together.
- Avoid heating reagents like glyceregia unnecessarily — some nickel-alloy etchants can release more hazardous fumes if overheated during use.
Reading and Documenting the Macro Etch for PQR Records
ASME Section IX requires that where macroetch examination is used to satisfy PQR requirements, a photograph or equivalent record of the etched section — typically at a magnification suitable to clearly show weld geometry, commonly around 5x — is retained as part of the qualification record. AWS D1.1 similarly specifies macroetch test requirements with defined acceptance criteria covering lack of fusion, cracks, and other discontinuities visible in the etched section. In practice, the reviewer is checking the photograph against the WPS for:
- Correct number of passes and general pass sequence/layering consistent with the WPS.
- Complete fusion at the joint sidewalls and between passes, with no visible lack of fusion.
- Adequate root penetration for the joint design (open root, backing, or consumable insert as applicable).
- Absence of cracks, and porosity or inclusions within acceptable limits per the governing code.
- HAZ width and general weld profile consistent with the heat input range the WPS specifies.
A single macro-etched section is frequently used both for this photographic record and as the base specimen for a subsequent hardness traverse — see the mechanical testing guide for how hardness testing is typically sequenced after photographing the etched macro, since indentations can disturb the etched surface appearance if done first.
Frequently Asked Questions
Why is swab etching preferred over immersion for production macro sections?
Swab etching gives the operator direct control over etch time, coverage, and depth by applying reagent with a cotton swab in a consistent direction and rinsing to check progress, which matters on a production weld cross-section where over-etching can obscure fine discontinuities like lack of fusion just as easily as under-etching can fail to reveal them. Immersion etching, where the whole specimen is submerged for a fixed time, is harder to control incrementally and is more commonly used for smaller lab coupons prepared under closely controlled conditions rather than for a one-off production macro cut.
What is ammonium persulfate used for in macro etching and why is it a common first choice for carbon steel?
A 10% ammonium persulfate solution in water is a widely used macro etchant for carbon and low-alloy steel because it reveals the fusion boundary, weld pass sequence, and heat affected zone clearly at macro scale after only a light (approximately 600-grit) surface finish, without requiring the extended fine polishing that microstructural etching demands. It is relatively easy to control by swabbing, produces good contrast quickly, and does not require the more hazardous acid mixtures needed for stainless or nickel alloy macro etching.
What safety precautions are needed when preparing and using macro etchants like Adler’s reagent or aqua regia?
Macro etchants for stainless and nickel alloys frequently involve concentrated acid mixtures — Adler’s reagent contains copper chloride, hydrochloric acid, and ethanol, while aqua regia is a highly reactive mixture of nitric and hydrochloric acid — and both require adequate ventilation or fume hood use, acid-resistant gloves, eye protection, and an apron at minimum. Aqua regia in particular must be mixed fresh immediately before use and never stored in a sealed container, since it continues to react and can build dangerous pressure; leftover acid mixtures of any type should never be combined with other waste acids during disposal.
What should a macro etch reveal for a weld procedure qualification record?
A properly prepared and etched macro section should clearly show the number and arrangement of weld passes, the fusion boundary between weld metal and base metal, the extent of the heat affected zone, and any discontinuities such as lack of fusion, incomplete penetration, cracks, or significant porosity, all of which are compared against the essential and nonessential variables recorded in the welding procedure specification. This is a qualitative visual record, not a microstructural one — the goal is to confirm sound fusion and proper weld geometry, not to characterize grain structure or phase content.
Does ASME Section IX require the macro etch photograph to be kept as part of the PQR?
Yes — ASME Section IX requires that where macroetch examination is used to satisfy PQR requirements, a photograph or equivalent record of the etched section, generally at a magnification suitable to clearly show the weld cross-section (commonly around 5x), is retained with the procedure qualification record. This provides a permanent, reviewable record of the joint configuration and soundness that supported the procedure’s qualification, rather than relying solely on a written pass/fail statement.
Why does aluminum require a different macro etchant than carbon steel?
Aluminum does not respond to acid-based ferrous etchants like nital or ammonium persulfate the way carbon steel does, because the reactions involved are specific to iron-based microstructures. Reagents such as Keller’s reagent, dilute sodium hydroxide, or Tucker’s reagent are formulated specifically to attack the aluminum oxide surface layer and reveal grain structure and weld fusion boundaries in aluminum and its alloys, and using a ferrous etchant on aluminum typically produces poor or no useful contrast.
What causes an uneven or patchy macro etch result?
Uneven etching is most often caused by inconsistent swab pressure or direction across the specimen surface, an insufficiently uniform surface finish before etching (residual scratches or contamination from the polishing stage), or a reagent that has been used past its effective concentration on multiple prior specimens. Re-polishing to a clean, consistent finish and etching with fresh reagent using a steady, consistent swabbing pattern in one direction usually resolves patchy results.
Can the same macro-etched specimen be used for both visual pass-sequence documentation and hardness testing?
Yes, and this is common practice — a single macro-etched cross-section is frequently used both for the required photographic record of weld soundness and pass sequence and as the base specimen for a hardness traverse across weld metal, HAZ, and base metal, since the etch reveals exactly where to place hardness indentations relative to the fusion boundary and HAZ. Hardness testing is typically performed after photographing the etched macro, since indentations can slightly disturb the etched surface appearance.
Recommended Reading
Metallography of Welds — ASM Handbook Vol. 9
Comprehensive reference covering both macro and micro etching reagents and technique across alloy systems.
View on AmazonWelding Inspection Handbook (AWS)
AWS reference manual for CWIs covering macro examination, acceptance criteria, and documentation requirements.
View on AmazonASME Section IX (Latest Edition)
The code governing welding procedure and performance qualification, including macroetch and PQR documentation requirements.
View on AmazonMetallographic and Materialographic Specimen Preparation (Struers)
Practical technique guide covering etchant selection and application across a wide range of alloys.
View on AmazonDisclosure: WeldFabWorld participates in the Amazon Associates programme (StoreID: neha0fe8-21). If you purchase through these links, we may earn a small commission at no extra cost to you. This helps support free technical content on this site.